Showing posts with label planar. Show all posts

Wednesday, 10 June 2015

Give me shelter

This week we gave the kids quite a limited set of building materials and asked them to construct a hideaway, with enough space for at least one person and sturdy enough to withstand a storm. 
                    
One industrious team used rolled up paper rods and cardboard tubing to construct a rectangular frame structure.


They had to deal with some classic construction issues caused by compression forces. What to do when your frame buckles in the middle? Either add more crossbars or "maybe we should use stronger material?"


In the end turning the frame on its side helped a bit- broader base, less height. Once a canvas was flipped over the frame it made for a cosy two person hideaway.


Another student decided to use the corrugated cardboard to construct a hut with curvilinear sides. This bypasses the need for a rod-based frame and has the advantage of creating a self-supporting wall.


Secure joints are important in a rod frame.


This student constructed a rod frame to make a pod like lean-to. He hung joined paper rods from the coat pegs on the wall and used a cardboard tube as a supporting strut. Next he put a layer of paper as a covering and then draped a sheet on top to enclose the structure. Pretty neat.


These students made a shelter with cardboard tubes, tape and blind frets and a corrugated card cover. Peek underneath and you can see a good structural detail: the addition of stops at the frame base to prevent the tubes from slipping out. There was a lot of enthusiasm for the testing stage of their design: turns out this structure can withstand a serious tornado!


Camping out!

Wednesday, 3 December 2014

Structures


This week Invention Squad built strong and stable structures. We looked at a variety of designed structures to see whether they were formed of linear (rods, bars, sticks etc.), planar (sheets) or block components.

Then we gave the kids a pack of playing cards and a pair of scissors each. Their task was to build any structure they wanted to- tables and chairs, houses and bridges and test them for their load bearing properties. Since we deliberately did not provide any glue or tape, one aspect of this design challenge involves exploring joints.

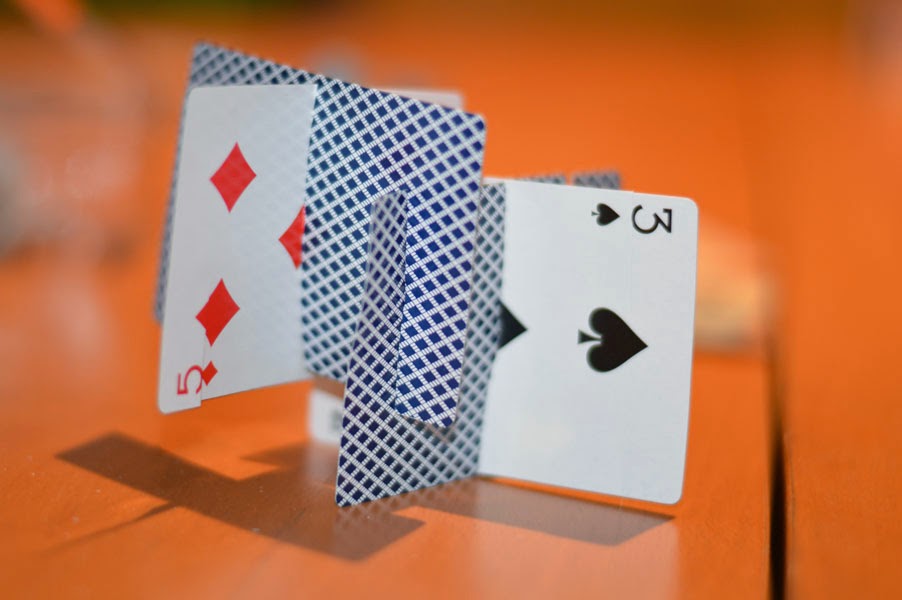
Here are some simple structures made by card slits that form potential support units for our structures.


These can be used to support a planar sheet made of multiple cards- which creates a (somewhat shakey) table,


or the first storey of a house,


or a beam bridge with two piers…


As everyone knows, the funnest part of building a structure can be demolishing it.  We tested our structures to see if they could support an elephant. This is a chance to observe how compression and tension forces act on a structure:
image taken from http://www.pbs.org/wgbh/buildingbig/bridge/beam_forces.html

It's also an opportunity to spot the weak spots in a structure, as it's collapsing.  The central point of a beam bridge (furthest from the piers) is always the weakest point.  This woven bridge (below) works quite well to add strength to the beam.


Enterprising use of card boxes and some trussing on the piers on this bridge (below).


Whoops! Back to the drawing board.


 How can we make that beam more sturdy? What would make those piers more stable and supportive?